Sunday 29 November 2015

Krafty Christmas!

Well, I managed to make a few Christmas cards at last! At Stamp Magic in October, I loved the cards being demonstrated by Deby from Inkylicious, using kraft card and white pigment ink to create a faux parchment effect. Naturally I had to buy the necessary supplies to have a go at making my own!

I won't go into details of how they are done, as Deby has a brilliant tutorial on her blog, which you will find here. These are the cards I've made so far.

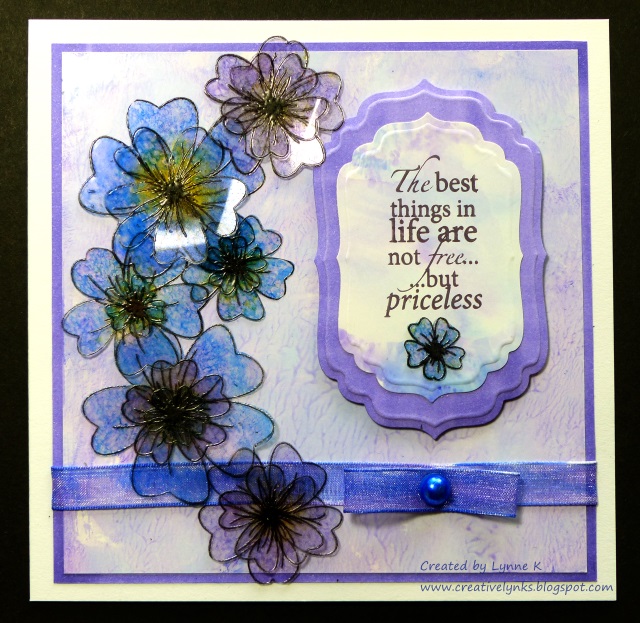
1. Stencils and all stamps: Inkylicious. Border punch: Martha Stewart. DP: Be Creative

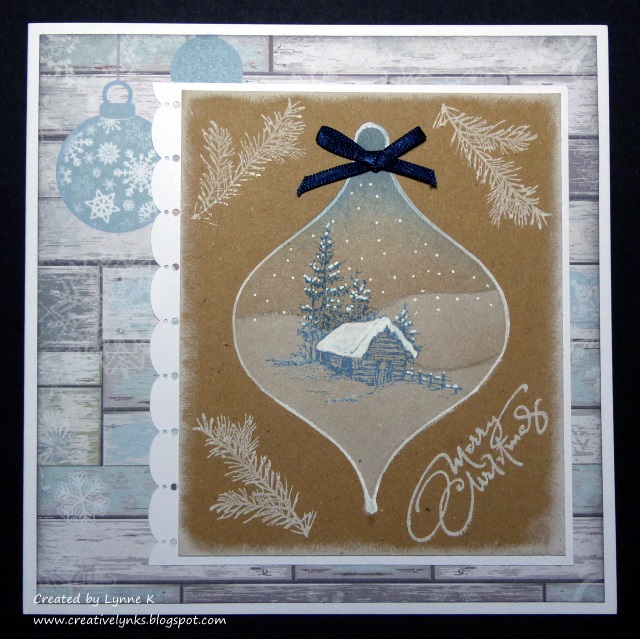
2. Stencils and Winter Cabin stamp: Inkylicious. Sentiment: Stamps by Chloe. Corner punch: Fiskars

3. Stencils, Trees & deer stamps: Inkylicious. Sentiment: Stamps By Chloe. Corner stamp: Magazine Freeie (Simply Cards & Papercraft). Border punch: X-Cut. DP: Grafix

4, Winter Cabin stamp: Inkylicious. Tiny snowflake (part of larger stamp) & sentiment: Stamps By Chloe. Corner punch: Dovecraft. Mountain & valley stencil: Inkylicious. Oval stencil cut with Spellbinders die.

5. Winter Cabin stamp, branch stamp & mountain & valley stencil: Inkylicious. Sentiment Stamps by Chloe. DP: Grafix. Circle stencil cut with Spellbinders die.

6. Winter Cabin & branch stamps: Inkylicious. Sentiment: Stamps by Chloe. Oval stencil cut with Spellbinders die.


7, Winter Cabin stamp, branch stamp, bauble stencil & mountain & valley stencil: Inkylicious. Sentiment: Stamps by Chloe. Deer & trees diecuts (cut from a larger die): Frantic Stamper. DP: Be Creative.
For all cards I used ColorBox Frost White pigment ink, Memento die ink and Sakura Gelly Roll white gel pen.

Until I saw Deby's cards, I wasn't really a fan of kraft card, but I really like the effect with this technique. It's also easy to do. I'm definitely a fan of that! Thanks for looking!


Wednesday 25 November 2015

How shall I colour thee? Let me count the ways!

Here's a card. And before you scroll down to see how I made it, here's a question. How many different types of colouring media do you think I used on it?

 The answer is just one! I've been having a play with my Be Creative alcohol based markers, and I wanted to see if I could create a card using only those to colour all the various elements. Of course, I had to use a water based ink to stamp the flowers and sentiment otherwise they would have been smudged by the markers, but everything is coloured with the markers.

I stamped the flowers (Honey Doo Crafts) with black Brilliance ink on to heat resistant acetate, embossed them with clear embossing powder and cut them out. I coloured them by attaching a piece of felt to a Be Creative mini ink blending tool, rubbing ink from the markers on to the felt, and then dabbing it on to the flowers.

To make the main background paper, I scribbled some colours on to my glass mat, added a few drops of hand sanitiser and smooshed it around with my finger to swirl the colours together. Then I pressed a piece of shiny card (eg. encaustic art card) over it to transfer the colour. An added bonus, (depending on the brand of sanitiser!) is that your card will smell nice!

The next job was to make the background for the sentiment. Again, I used the glass mat method, but instead of the hand sanitiser I sprayed the colours lightly with isopropyl alcohol to merge them, which gave a smoother result. Alcohol ink blending solution would work well, but I didn't have any, and anyway, isopropyl alcohol is much cheaper. You can buy it from the chemist, but they may have to order it for you, and you may be required to explain to them what you want it for!

SAFETY NOTE! If using either the hand sanitiser or alcohol spray methods, make sure your work area is well ventilated and do not use near naked flames. Also please note I cannot be held responsible for any problem resulting from your use of my methods.

For the outer border and that around the sentiment I simply coloured a piece of ordinary white card with a marker.The ribbon was coloured in the same way using two complimentary colours. Finally I used a marker to colour the self adhesive pearl (Be Creative), stamped the sentiment (Woodware) with Memento ink and diecut it with Spellbinders Label 4 dies.


I hope my experiment shows the versatility of the Be Creative Alcohol Markers, and also that you don't need lots of fancy stash to create something beautiful!

Sunday 1 November 2015

It's getting nearer.....

.... and I have made hardly any Christmas cards yet! Still, at least I have made a start, with a card for our November theme at Stamping Sensations, which is

* * * * * FESTIVE FLOWERS AND FOLIAGE * * * * *

Can't really go wrong with this one - Christmas roses, holly and ivy, poinsettias, mistletoe, winter jasmine, even amaryllis, snowdrops and more! You may use any materials you choose, from any company. All we ask is that you use a stamp as the main focus of your design.

We are sponsored this month by be Creative!, who very kindly have donated a fantastic prize: a great selection (around £60 worth!) of their products, including papers, glitter glues, blending tools and refills, glue wand, tags, loads of embellishments and, to top it all, one of their fabulous totes to keep everything in!


Be Creative! are a new company, in fact so new that their website is not scheduled to go live until December, but you can check them out on their Facebook page. However, if you can't wait that long to get your hands on their stuff, you can buy it now from Once Upon A Stamp. Only some of the products are on their website, but they are all available from their shop, if you're local to them, or by telephoning your order to them on 01623 818910.

I am very impressed by the Be Creative paper pads. The paper is such good quality, and it's also double sided. I used a sheet from the "Winterland" pad for my card.

To echo the printed trees on the paper, I stamped and cut out a tree (from Stampin' Up's "Lovely As A Tree" set) and affixed it to the card with foam pads. I diecut the poinsettias (Marianne Design) from one of the "Winterland" papers and punched out the fern leaves (Leone Em) from metallic green paper (from my stash). I used a Be Creative glue wand to assemble the poinsettias and fasten them and the fern leaves in place. As the glue wand has a fine ball tip, it is very easy to apply the glue to small, delicate or fiddly items. It sticks really well too! I dotted the centres of the flowers and the stamped tree with glitter glue (also from Be Creative) and finished the design with a sentiment from Personal Impressions.

If, like me, you are still needing inspiration for your Christmas makes, you'll find plenty over on the Stamping Sensations Challenge Blog. Please do visit my teamies' individual blogs too, they would really appreciate it. I look forward to seeing all your lovely Festive Floral creations!